| User | Post |
|
8:35 pm
March 7, 2011
|
flygal6
| | Appleton, WI | |
| Moderator
| posts 80 |
|
|
|
|
2011 Starcraft AR-1, 15RB, Tow with 2007 Mitsuibishi Outlander 6cyl 4WD
|
|
|
7:11 pm
March 10, 2011
|
flygal6
| | Appleton, WI | |
| Moderator
| posts 80 |
|
|
Post edited 2:12 am – March 11, 2011 by flygal6
  Here's the completed project. All that's left is to mount the articulating arm in the trailer. I am real pleased with how it turned out. Here's the completed project. All that's left is to mount the articulating arm in the trailer. I am real pleased with how it turned out.
|
2011 Starcraft AR-1, 15RB, Tow with 2007 Mitsuibishi Outlander 6cyl 4WD
|
|
|
8:27 am
March 11, 2011
|
sandersmr
| | Texas | |
| Member | posts 338 |
|
|
|
|
2010 16BH towed by 2002 F-150 Super Crew 4.6L V8
|
|
|
11:46 pm
March 11, 2011
|
smilinjohn
| | Minnesota Prairie | |
| Moderator
| posts 380 |
|
|
Post edited 6:51 am – March 12, 2011 by smilinjohn
Carol, thank you for the innovative idea. I recommend you strongly consider re-enforcing the backside of the end-cabinet where you will mount the articulating bracket. I found it necessary to beef-up the inside of the end-cabinet, prior to mounting articulating TV mounting bracket, just above the refer in our 14RK.
 John John
|
2010 Sportsmen Classic 14RK; 2005 Ford F-150, 5.4L V8; "…..it is always advisable to perceive clearly our ignorance." Charles Darwin
|
|
|
9:42 am
March 12, 2011
|
flygal6
| | Appleton, WI | |
| Moderator
| posts 80 |
|
|
Already have a 8″ piece of 2×4 to snug up to the inside corner of the cabinet that will act as a backing plate for the mounting arm and give a nice thick sturdy surface for the arms long wood screws to tighten up into. Thanks I saw that idea from someone else mounting a tv to RV cabinets.
Carol
|
2011 Starcraft AR-1, 15RB, Tow with 2007 Mitsuibishi Outlander 6cyl 4WD
|
|
|
7:53 pm
March 20, 2011
|
flygal6
| | Appleton, WI | |
| Moderator
| posts 80 |
|
|
Post edited 2:59 am – March 22, 2011 by flygal6
So my mounting bracket and articulating arm worked like a dream. I put a piece of 2X4 up on the inside corner of the cabinet and provided a thick sturdy backing plate to screw the mounting base of the arm into. It is rock solid. We plan to pop the TV off of the arm for travel. But love having it up out of the way. Still is below, where the A/C blows out, so it doesn't block it. Also added a nifty little 12 oscillating fan under the cabinet too. Just one more thing off of the countertop. Using some velcro ties and also some black wrap around cord wrap, cleaned up all the unruly cords too.
Having trouble posting pics tonight? Will have to try it another time
Carol
|
2011 Starcraft AR-1, 15RB, Tow with 2007 Mitsuibishi Outlander 6cyl 4WD
|
|
|
10:38 am
January 7, 2012
|
President
| | | |
| Member | posts 3 |
|
|
Post edited 6:20 pm – July 16, 2012 by President
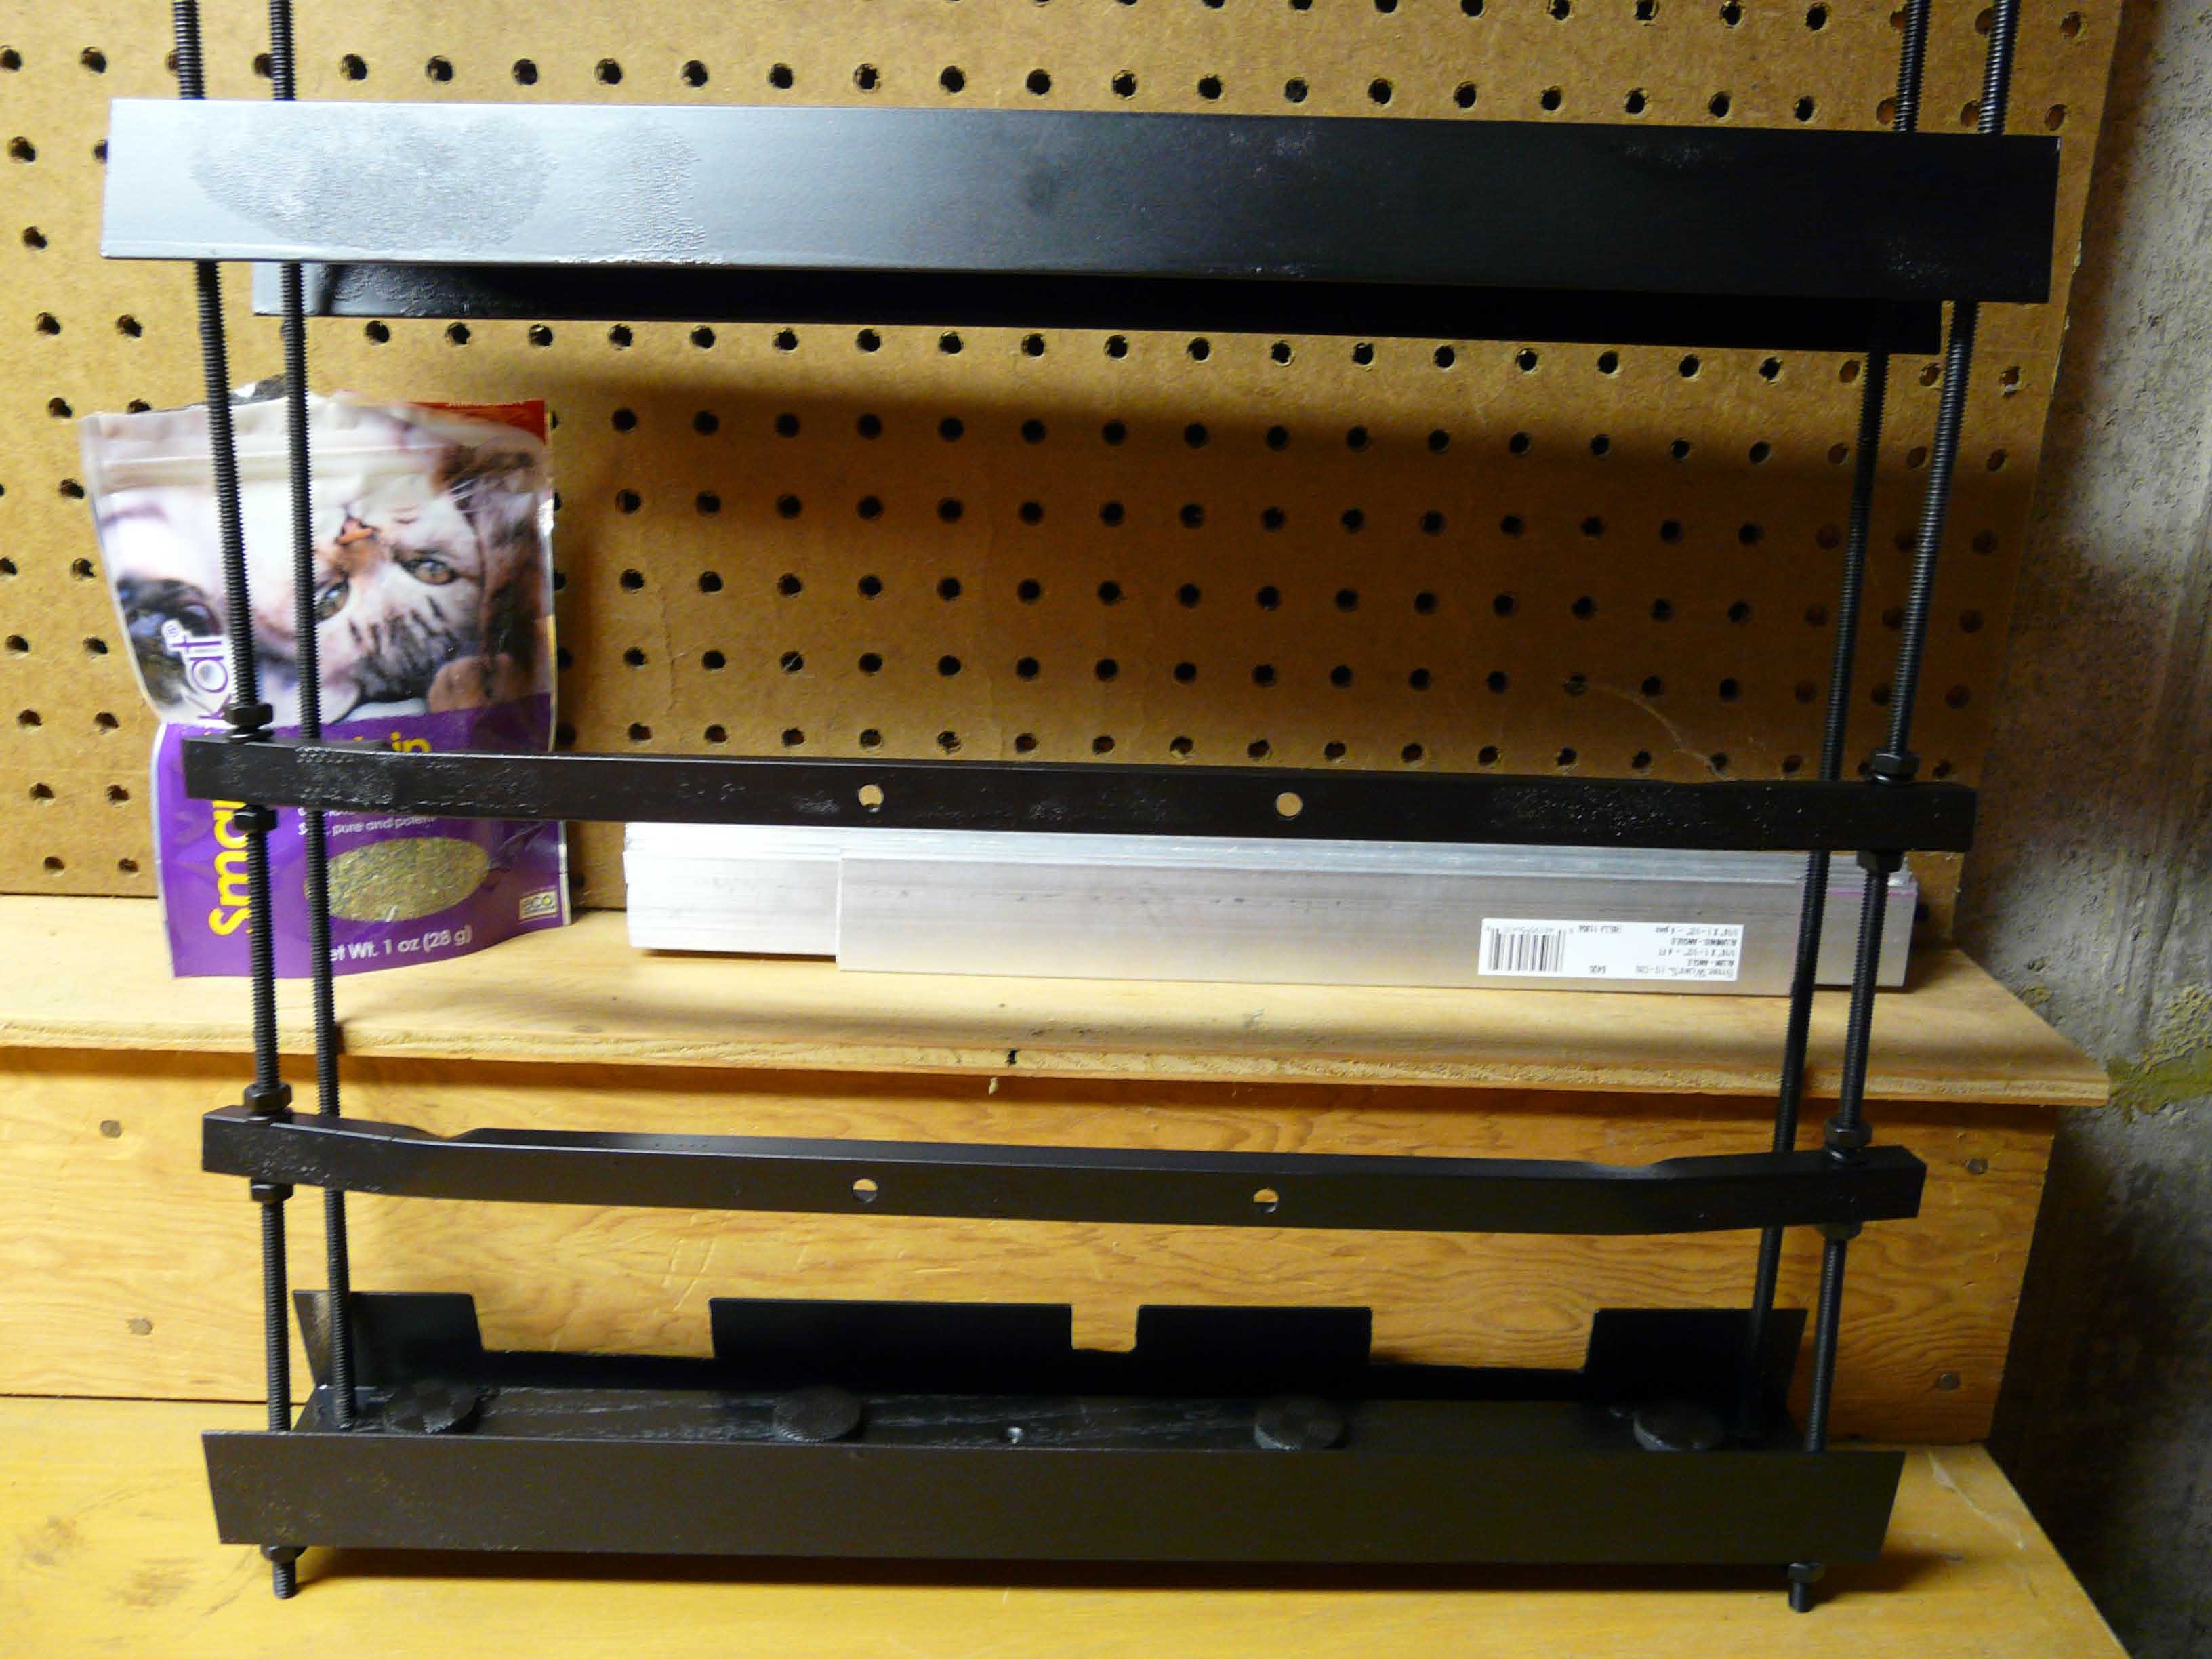
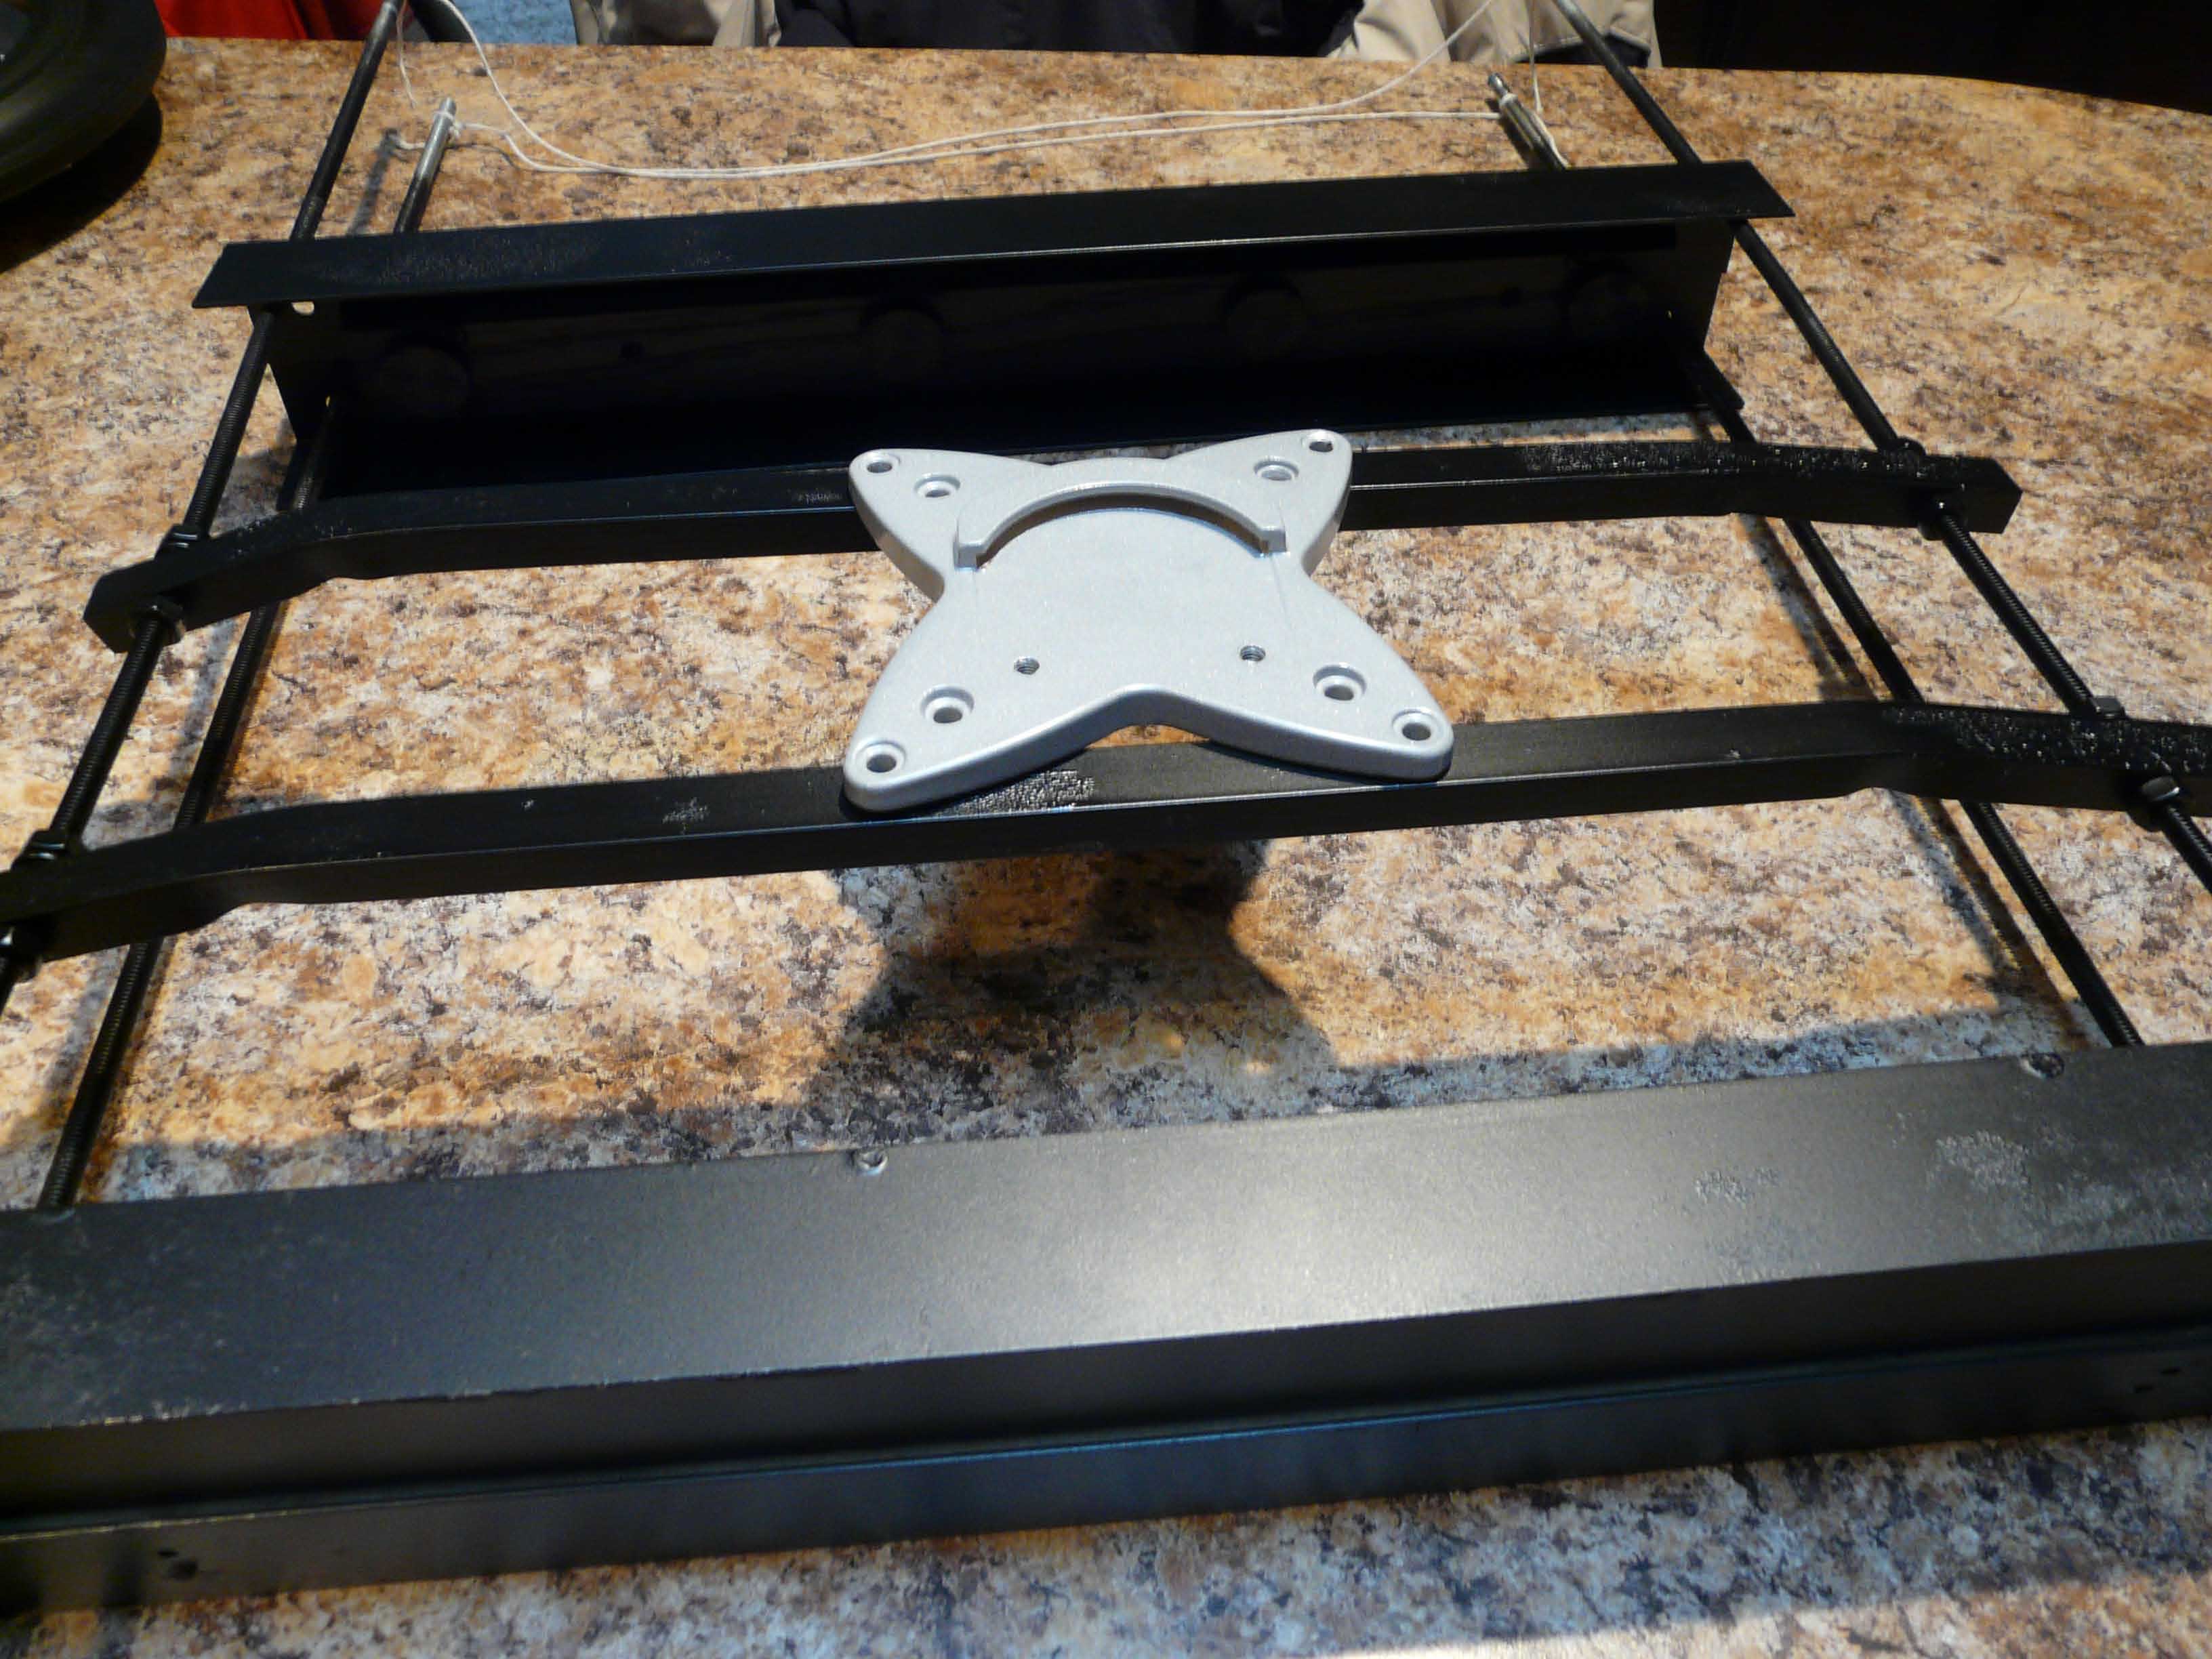
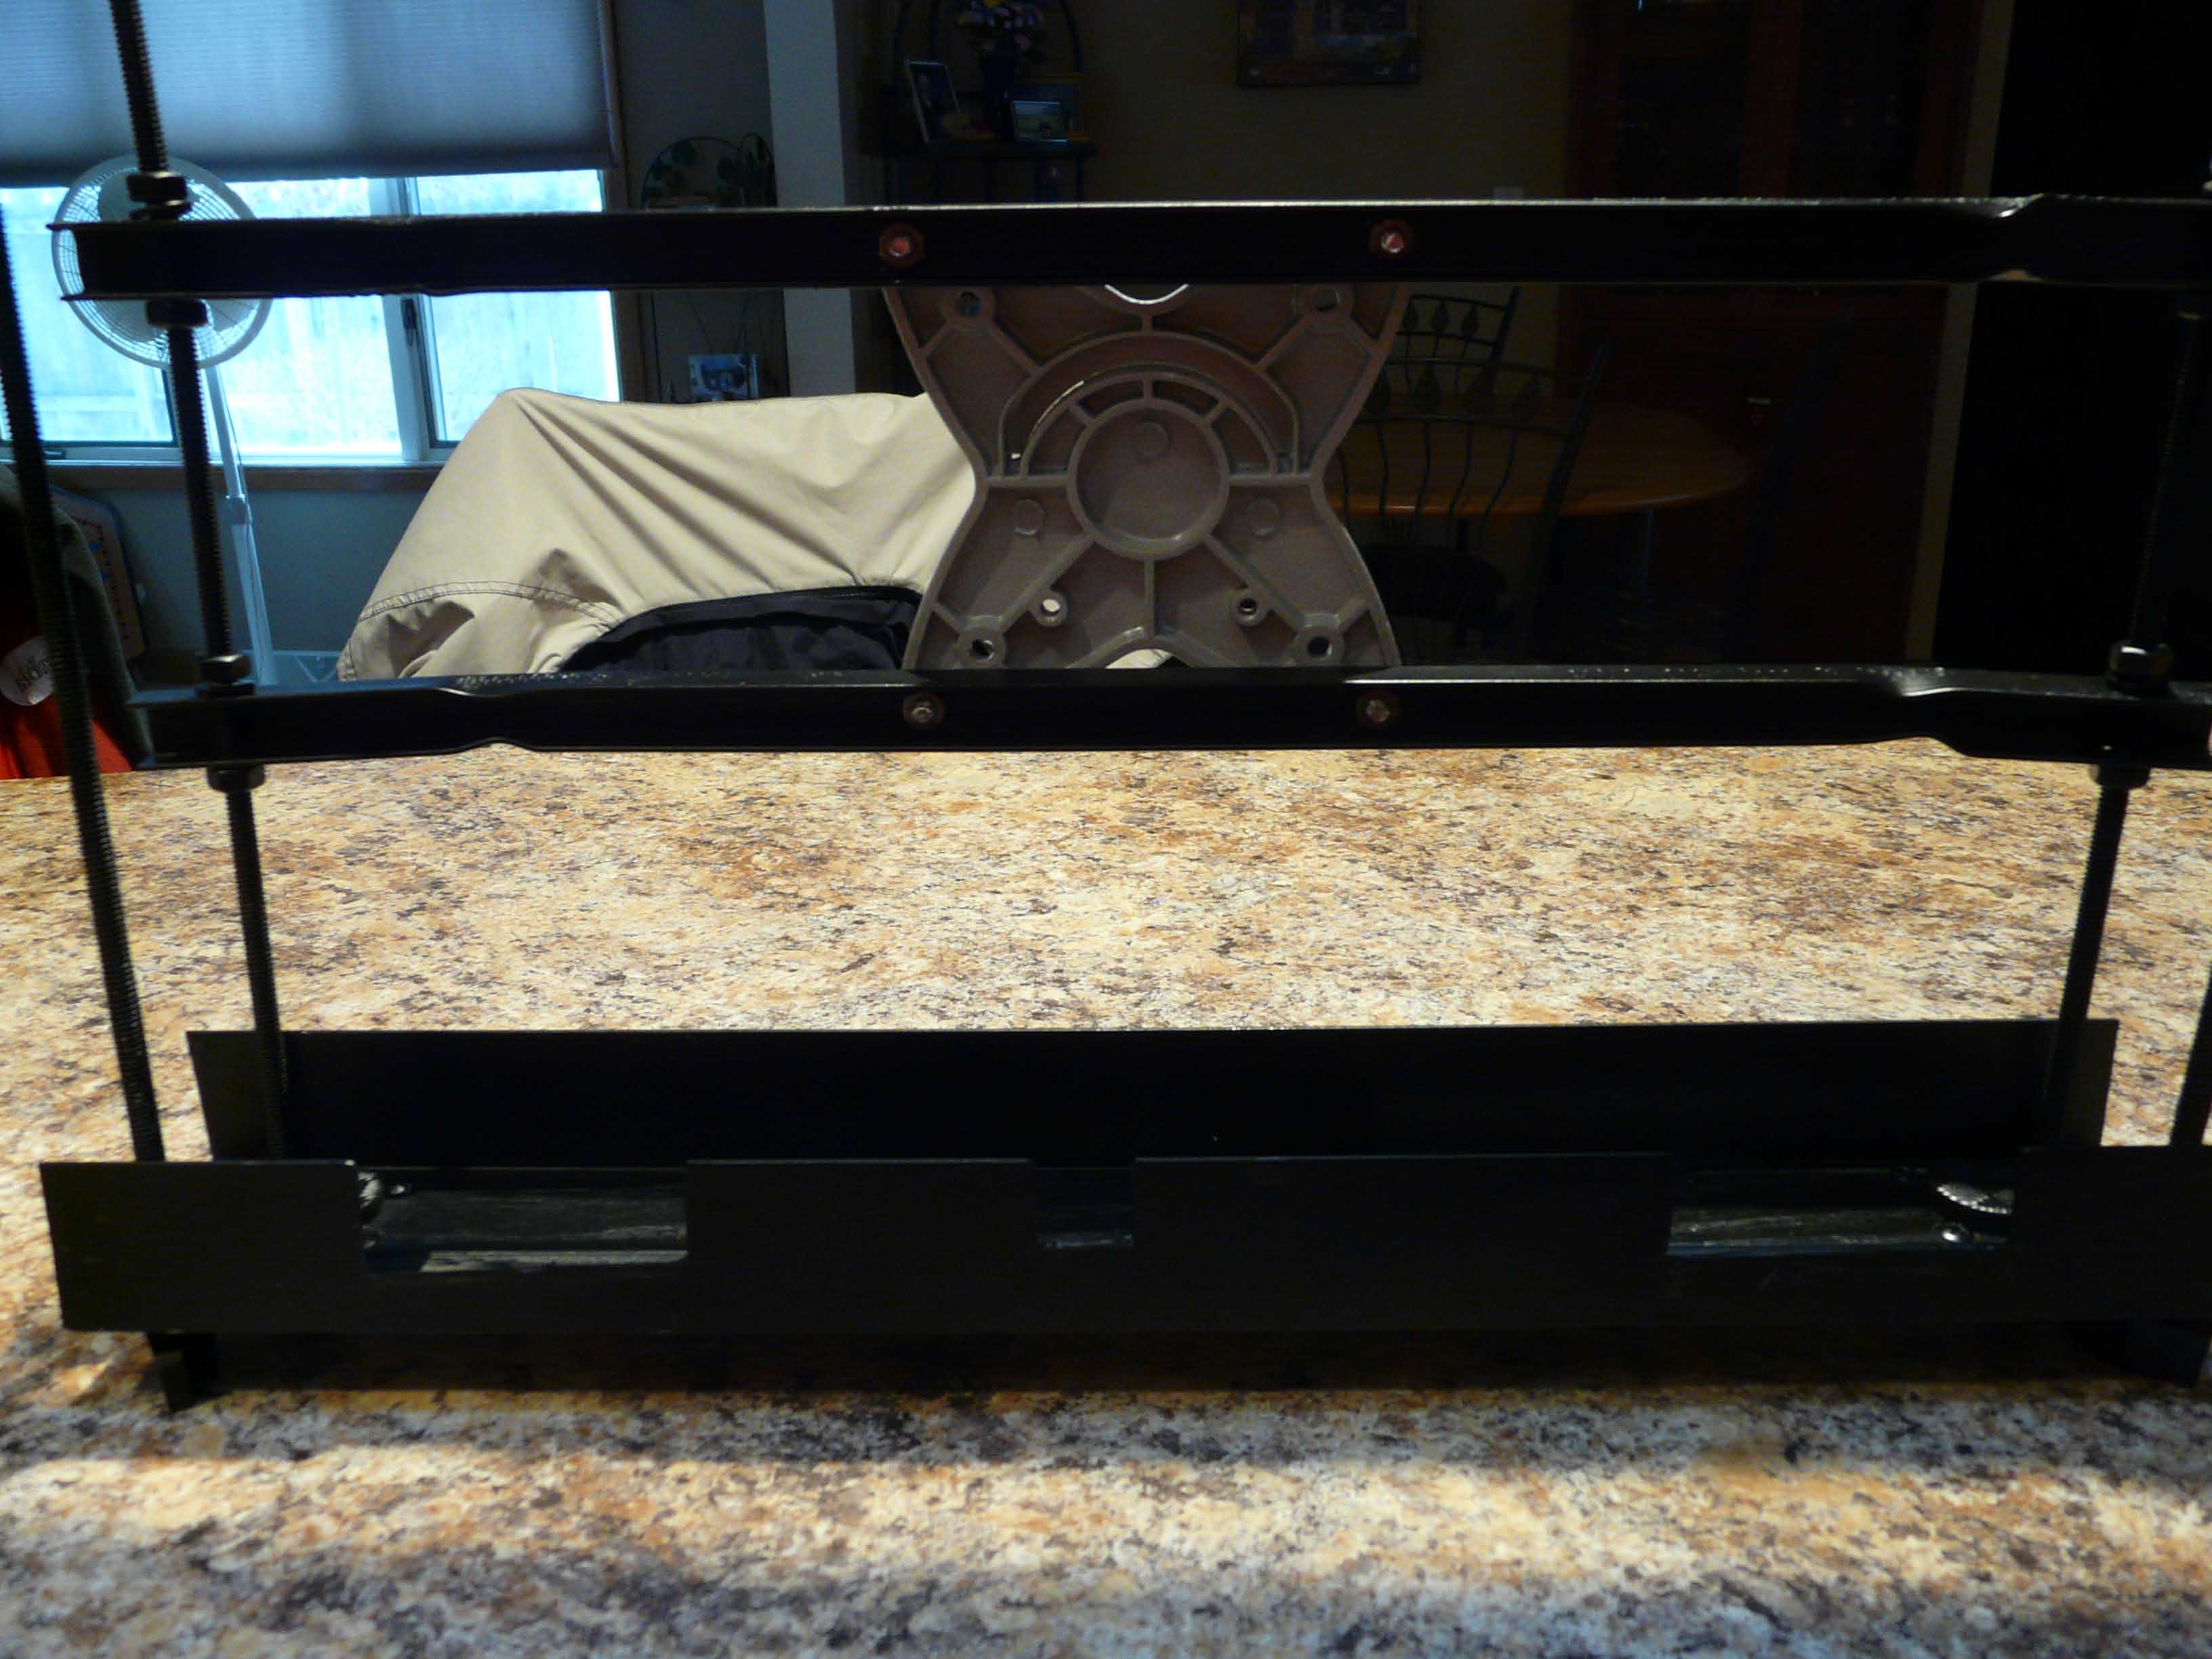
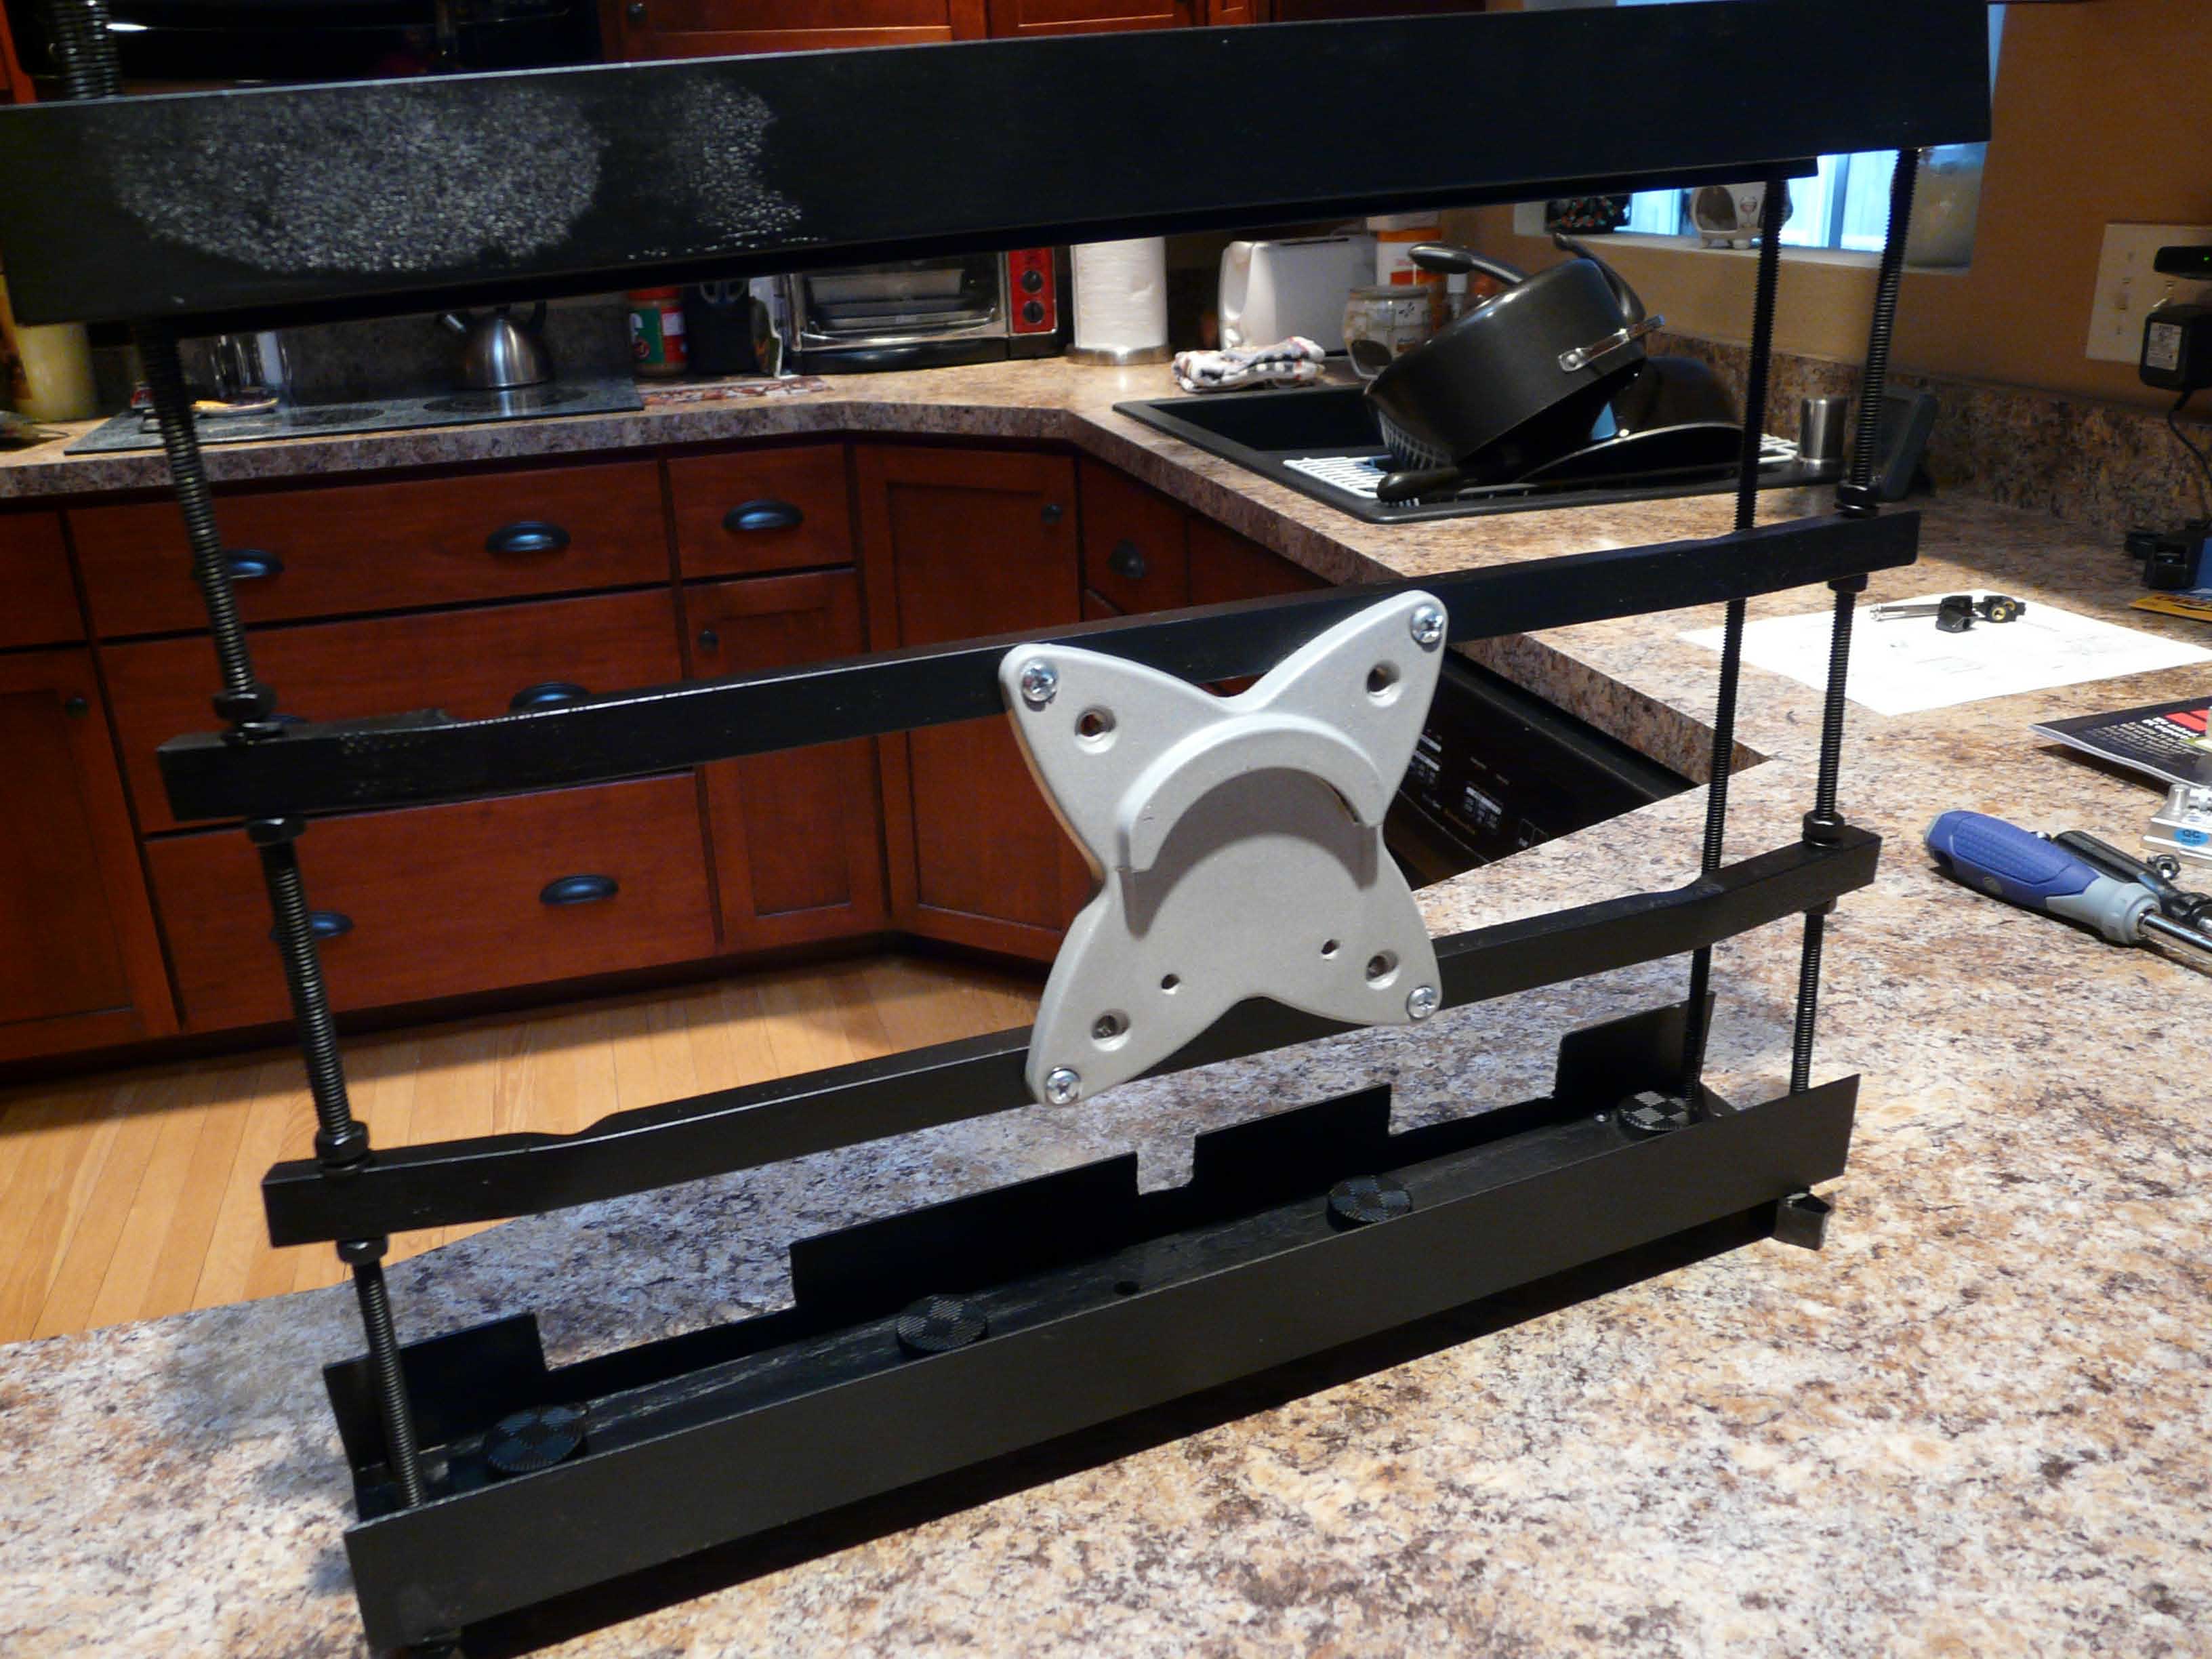
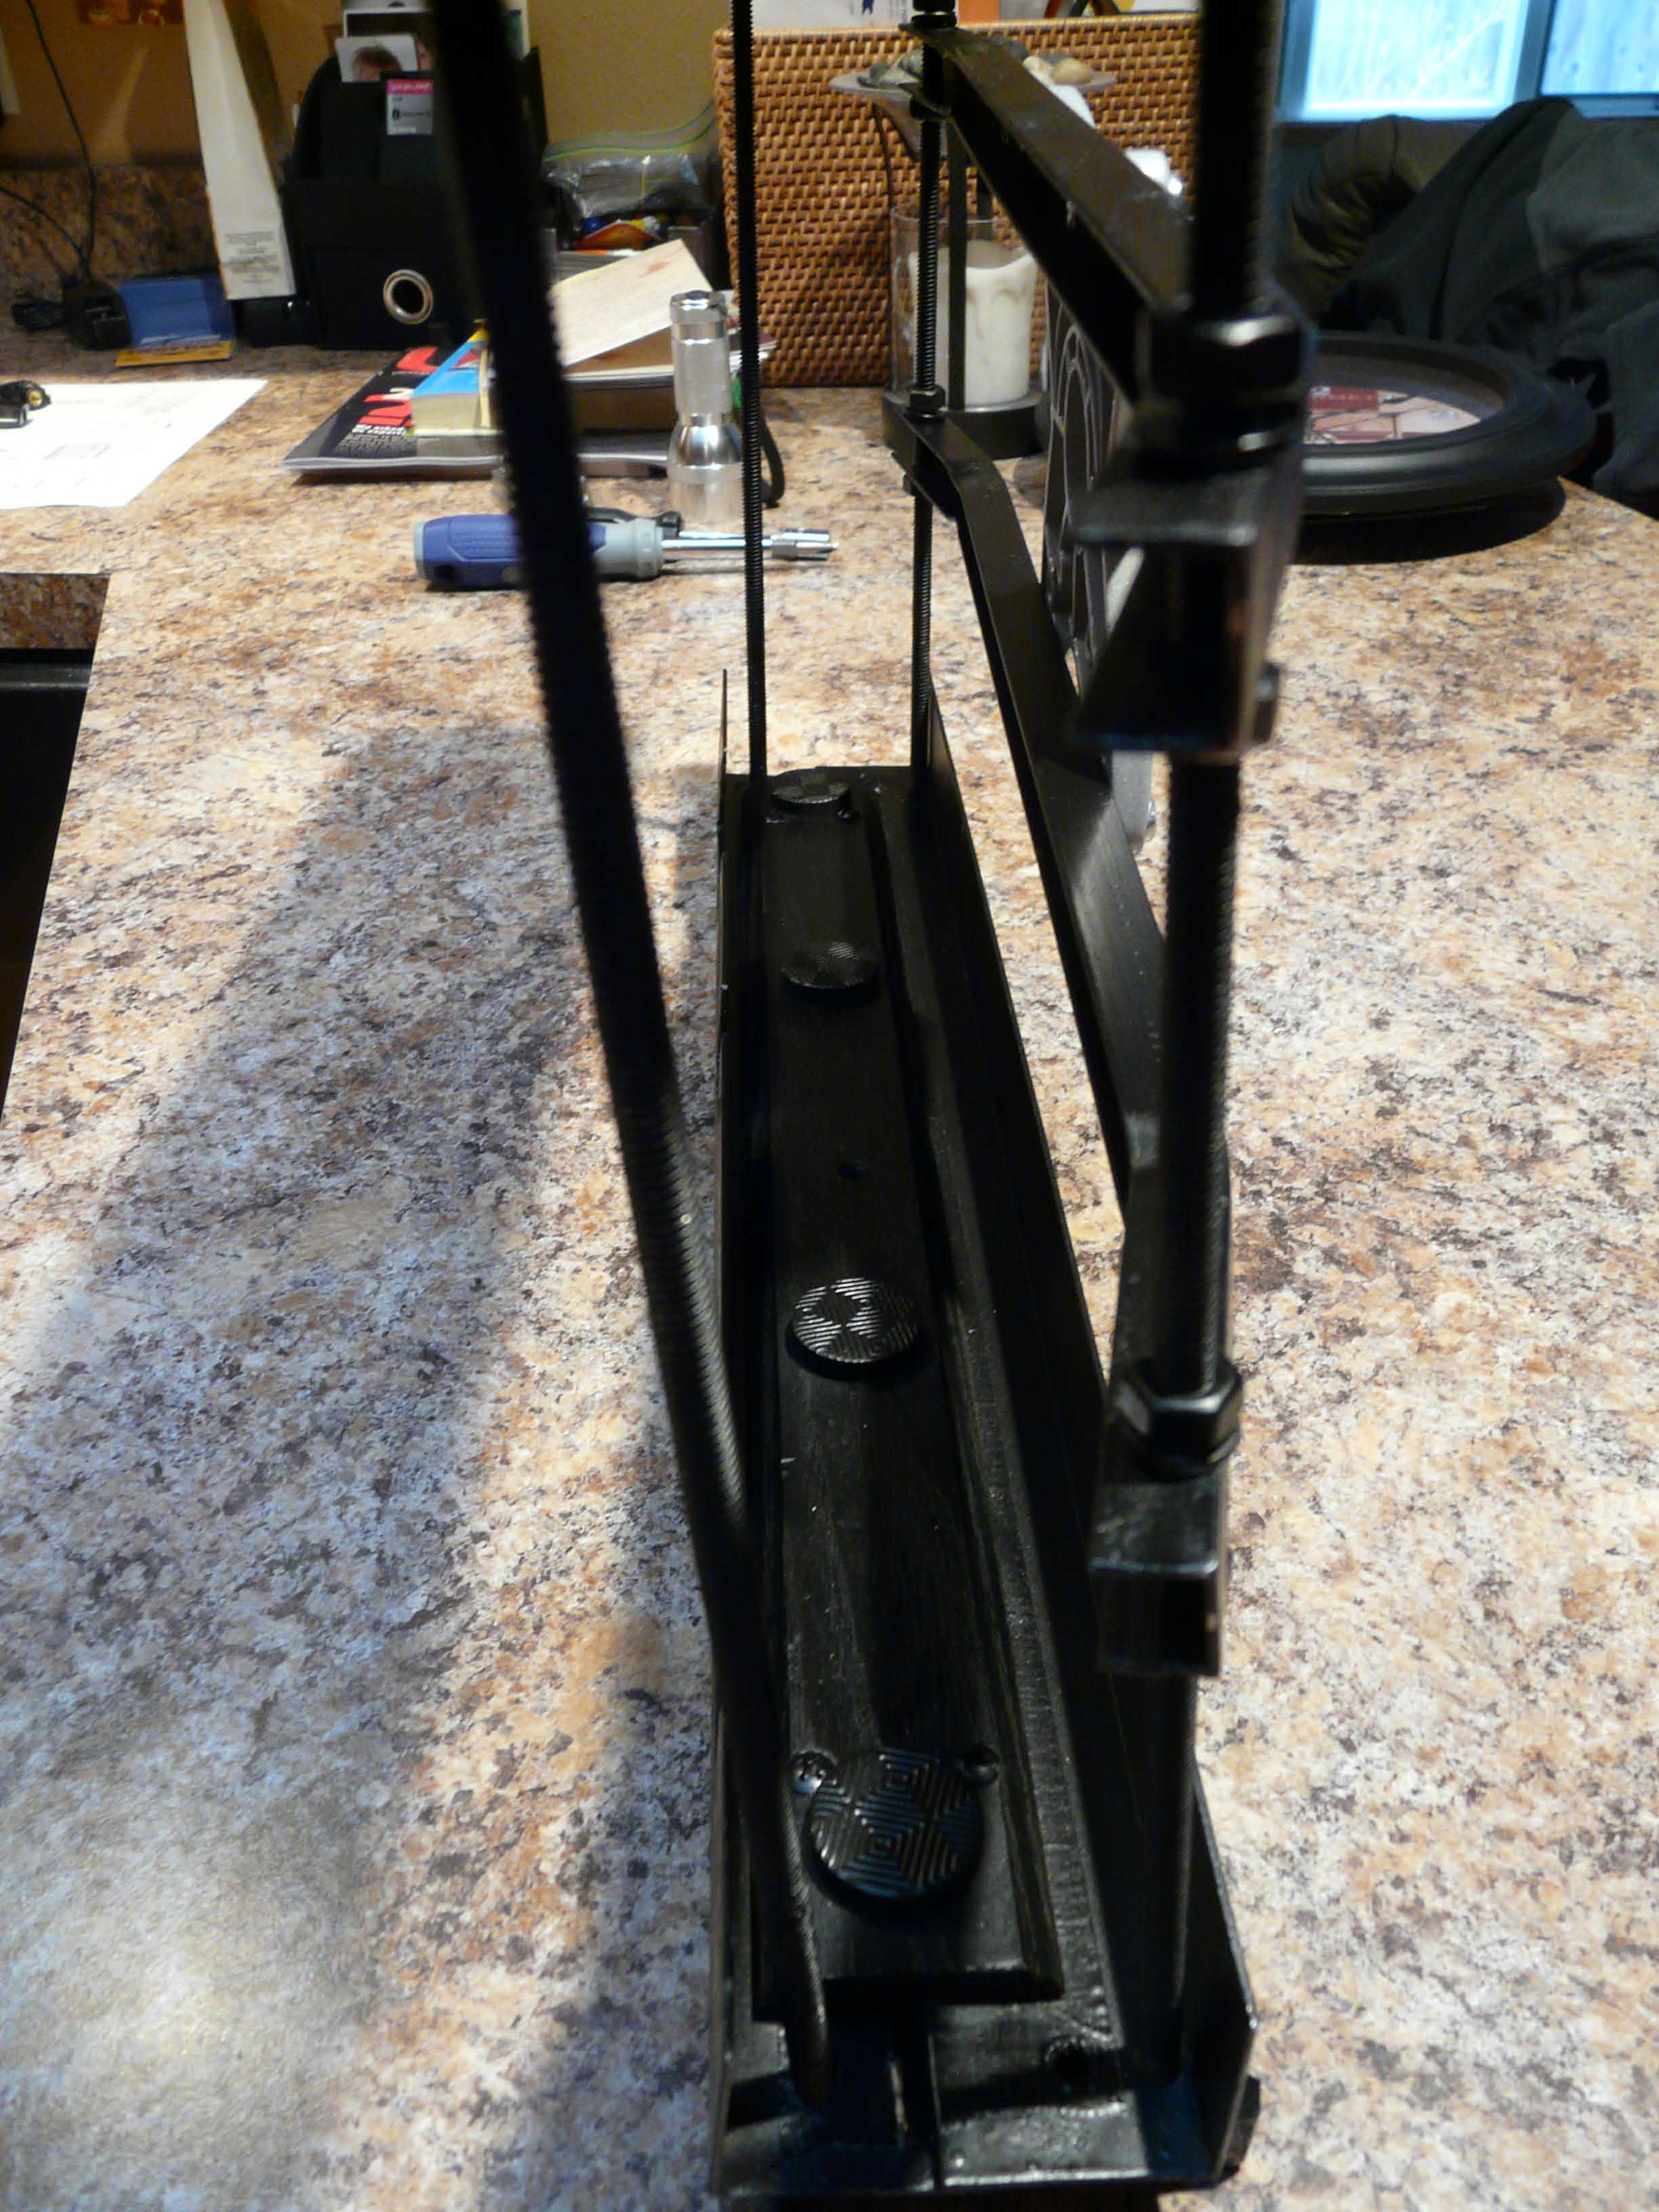
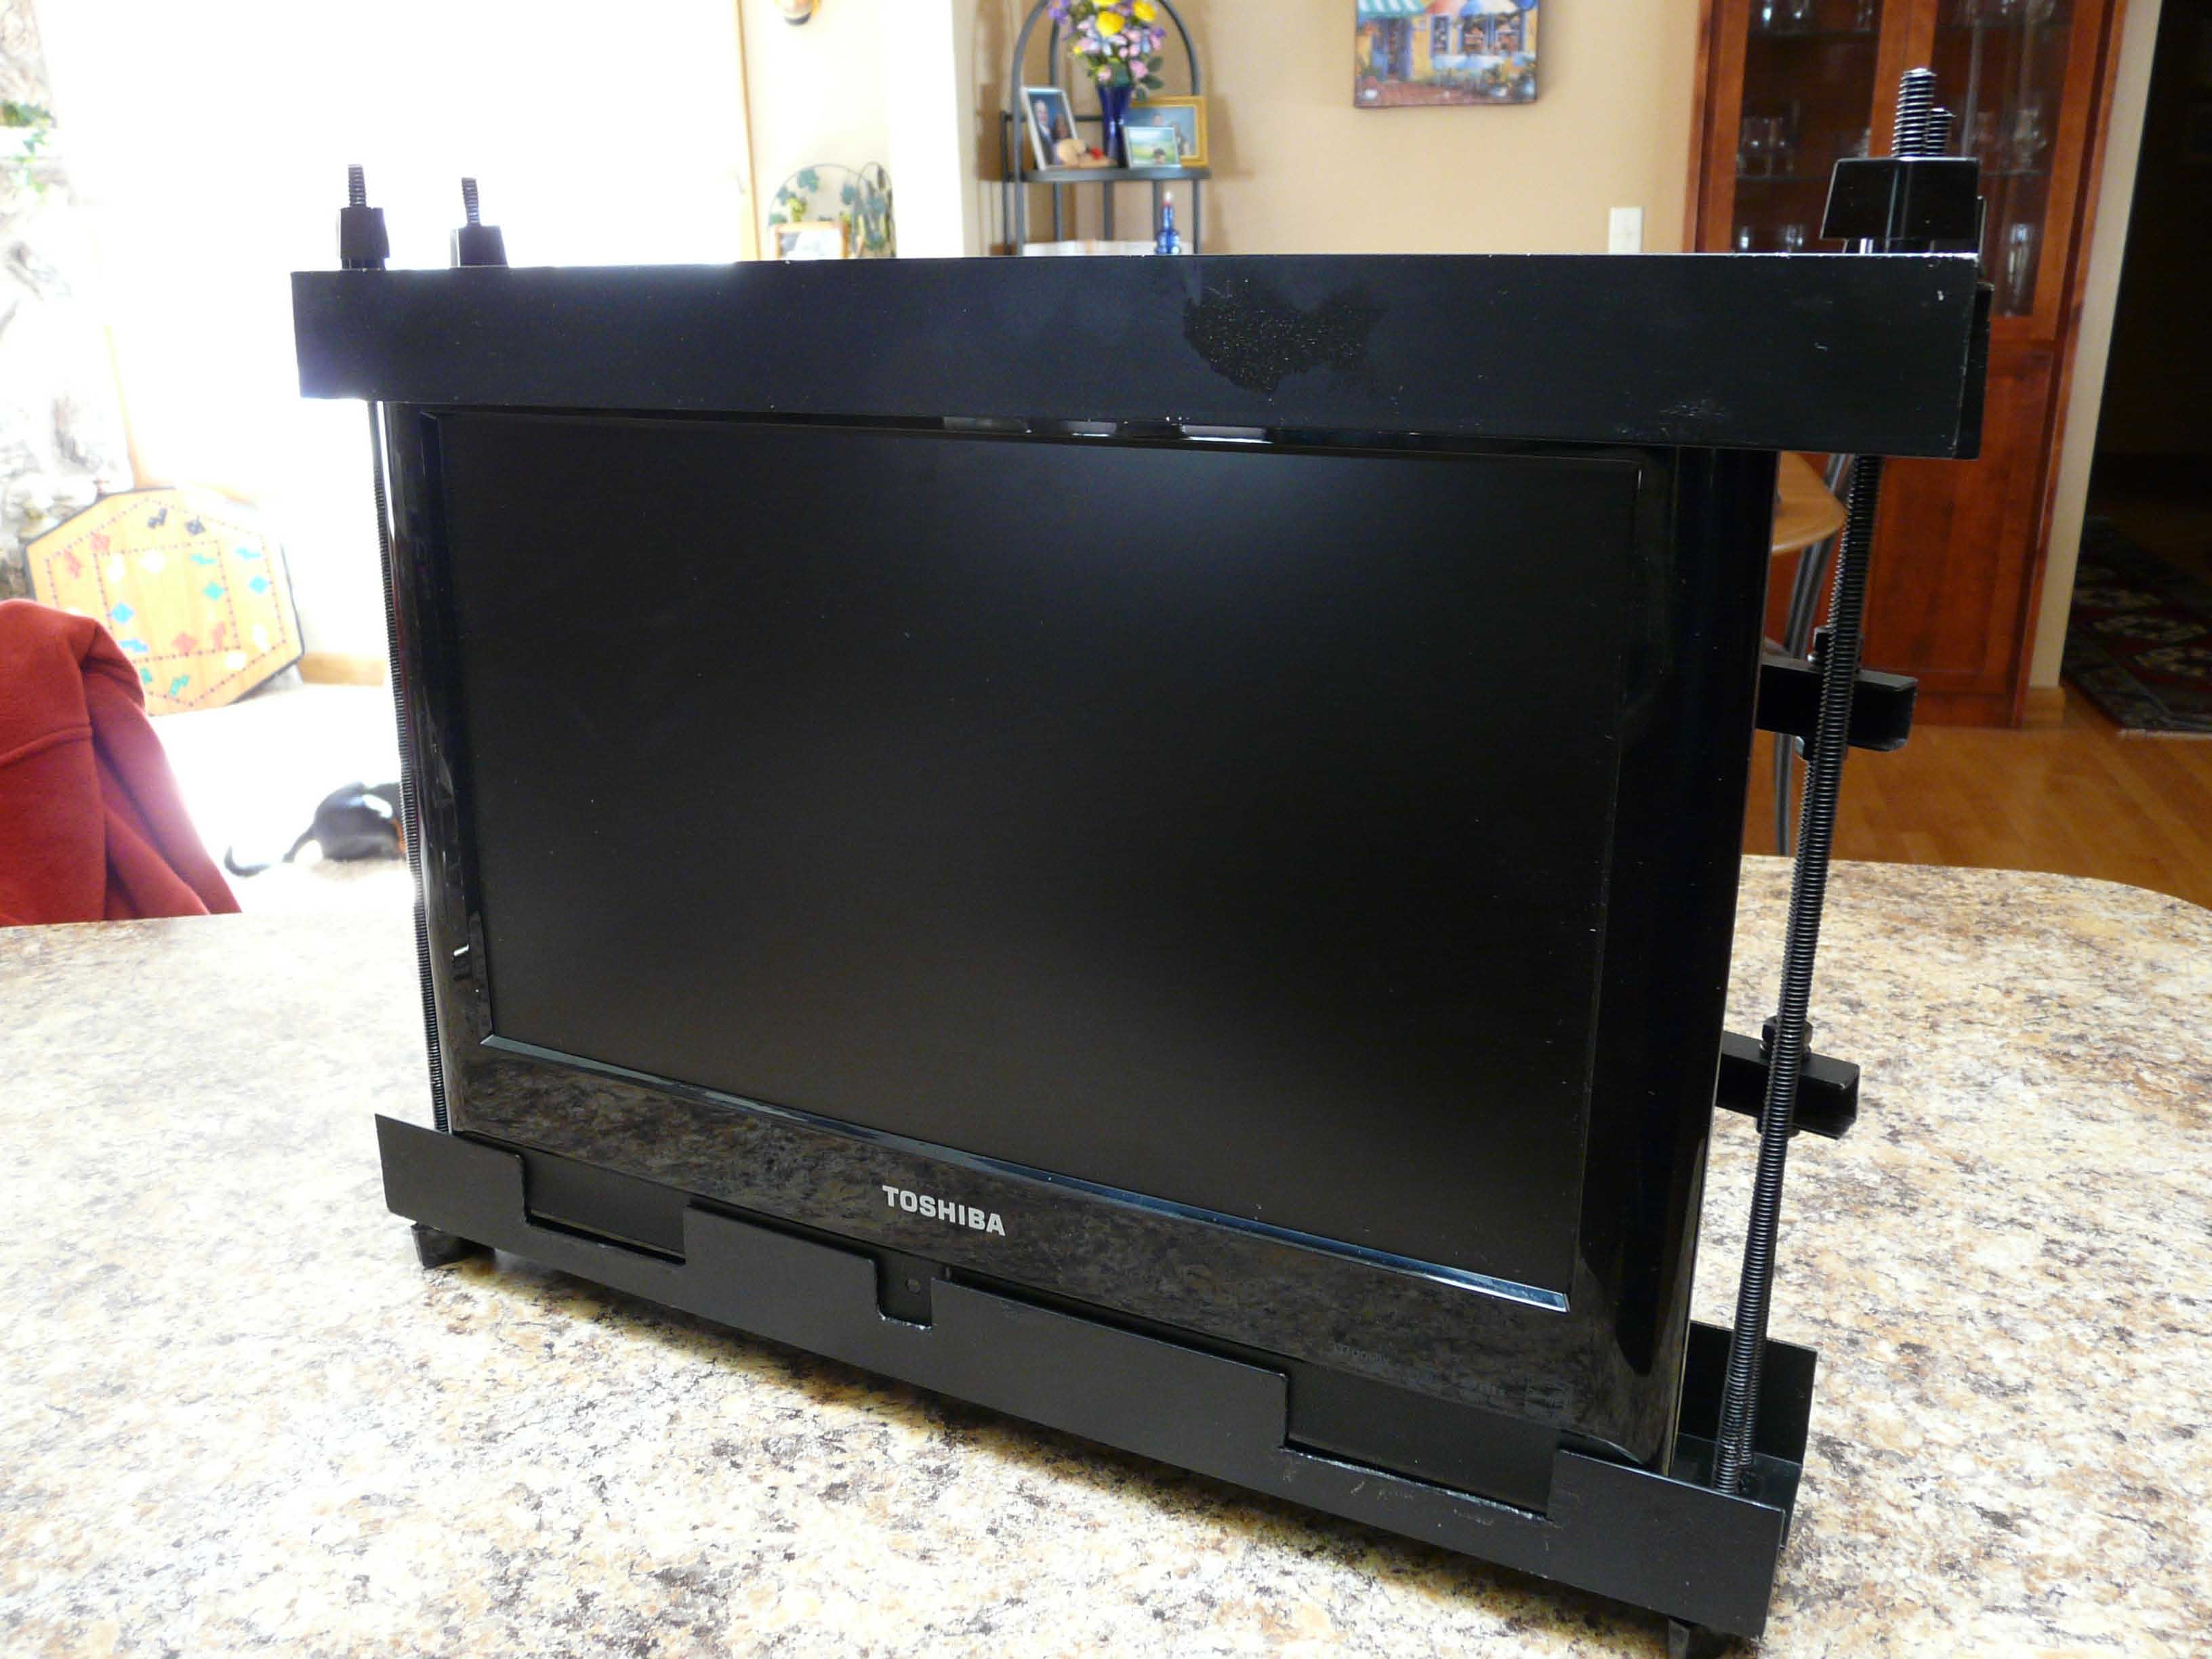
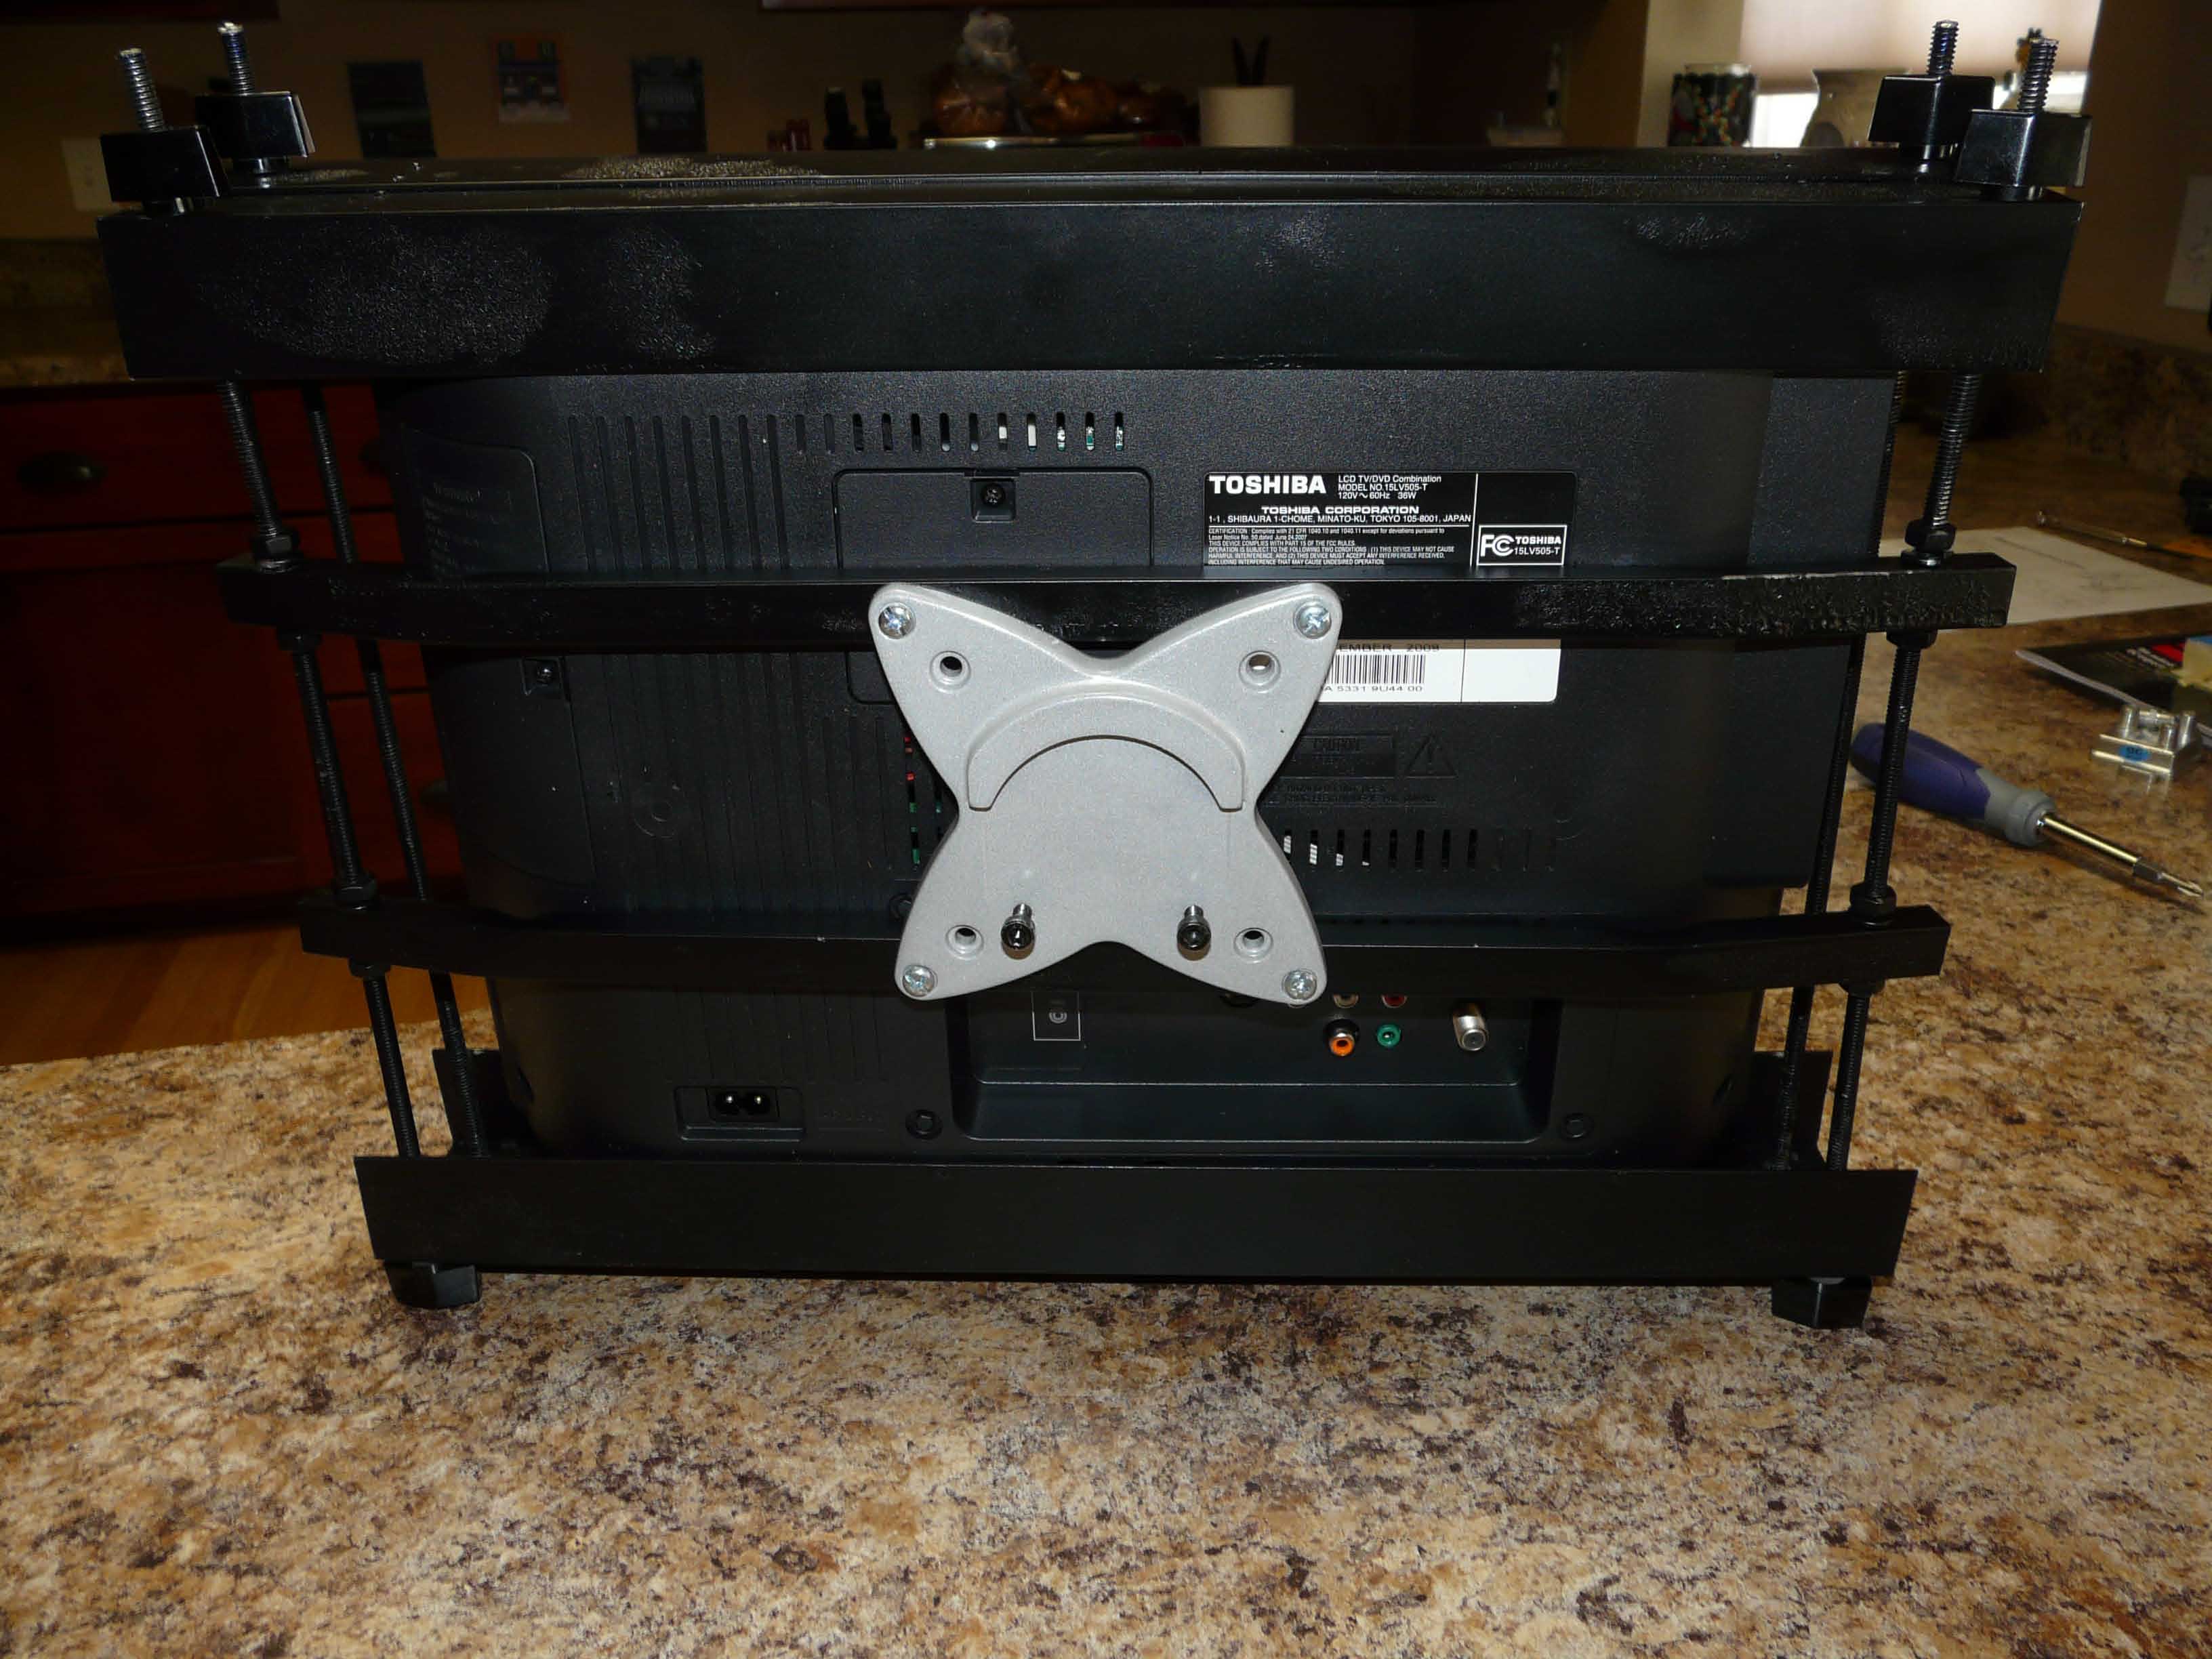
Ever wonder how to mount that great little flat screen TV that doesn't have those nifty built in screw sockets? build your own custom bracket and attach to your articulating arm of choice.
I am almost finished with this project and wanted to share the project with you and some pictures. The TV fits right between the 2 trays and then get secured with compressing the trays down with srew tightening knobs on all 4 corners. The "X" mounting piece you will see is mounted to the back 2 cross bars. All done with aluminum rt angle pieces, aluminum c-channel, wood threshold, round rubber stick on no skid discs, and steel 1/4″ threaded rods and black thumb tightening knobs on the corners. Painted everything black. All I have left to do is cut the tops off of the rods and then mount the articulating arm on the upper kitchen cabinet end. I'll take more pictures after I finish and complete the mounting. Best part of all……I got to use most of my power tools!
|
|